So, you’ve made up your mind to study in Canada. Great choice. The country is popular among international students because of its world-class universities, safe environment, and career opportunities. But before you get there, one big step comes first—getting your Canada student visa.
A lot of students stress over this part, and honestly, it can feel complicated at first. But once you know the steps, it’s actually pretty straightforward. This guide will walk you through the entire process of applying for a Canada student visa, from eligibility to landing in Canada.
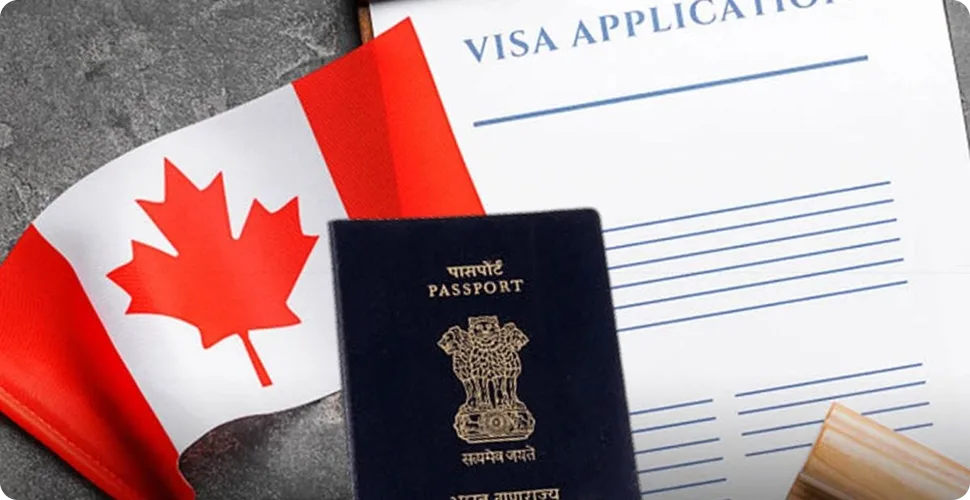
Why You Need a Canada Student Visa
If you plan to study in Canada for more than six months, you need a study permit, which people often call a Canada student visa. It’s not just a paper—it’s your ticket to study, live, and even work in Canada while you’re enrolled.
With a valid student visa, you can:
- Study at a designated learning institution (DLI).
- Work part-time during semesters and full-time in breaks.
- Bring your spouse or dependents in some cases.
- Apply later for a post-graduation work permit (PGWP).
Without it, you simply can’t study long-term in Canada.
Step 1: Check If You’re Eligible
Before you even start the paperwork, make sure you actually qualify. Canada has a few basic requirements for international students:
- You need an acceptance letter from a recognized DLI.
- You must show proof of funds (enough money to cover tuition, living expenses, and return travel).
- You should have a clean record—no major criminal history.
- Sometimes you’ll need a medical exam (if you’re from certain countries).
- You must prove that you’ll leave Canada after your studies (unless you legally extend your stay).
If you meet these, you’re good to move to the next step.
Step 2: Collect Your Documents
This part is important. Missing even one paper can cause delays or rejection. Here’s a simple checklist of what you’ll usually need:
- Valid passport (should cover your study period).
- Acceptance letter from your university or college.
- Proof of funds: bank statements, GIC (Guaranteed Investment Certificate), or a loan/sponsor letter.
- Recent passport-size photos.
- Medical exam results (if needed).
- Police clearance certificate (depends on your country).
- English test results like IELTS or TOEFL.
- Statement of Purpose (SOP) explaining why you want to study in Canada.
Always double-check with the Canadian embassy or IRCC site for updates, because requirements can change.
Step 3: Choose Online or Paper Application
Now comes the actual application part. You’ve got two options:
1. Online Application
- Create an account on the IRCC website.
- Fill out the forms.
- Upload your scanned documents.
- Pay the fees online.
Why online is better? It’s faster, easier to track, and no risk of your papers getting lost.
2. Paper Application
- Download the package from IRCC or get it from a visa application center (VAC).
- Fill in the forms and attach your documents.
- Pay the fee and submit everything at the VAC.
Most students today go with the online option because it’s quicker.
Step 4: Pay the Fees
There are two main fees:
- Application fee: CAD 150
- Biometrics fee: CAD 85
You can pay by card if applying online. If it’s paper-based, you may need a bank draft. Keep your receipt—it’s proof you’ve paid.
Step 5: Give Your Biometrics
After applying, you’ll get a Biometrics Instruction Letter (BIL). This means you need to go to your nearest VAC and provide:
- Fingerprints
- A photo
It doesn’t take long, but it’s mandatory. Once done, your biometrics stay valid for 10 years, so if you gave them before, you might not need to do it again.
Step 6: Visa Interview (Maybe)
Not everyone is asked for an interview. But sometimes, the Canadian embassy might call you in. If they do, don’t panic. They usually just ask about:
- Why you chose Canada.
- Your financial situation.
- Your study program and plans after graduation.
Answer honestly and keep it simple.
Step 7: Wait for Processing
This part tests your patience. Processing time depends on where you live, but on average, it takes 4 to 12 weeks.
During this time, you can:
- Track your application online.
- Respond quickly if they ask for more documents.
If approved, you’ll receive:
- Port of Entry (POE) Letter of Introduction.
- Temporary Resident Visa (TRV) if you need one.
Step 8: Fly to Canada
Congrats! Once your visa is approved, you can finally book your flight. At the airport in Canada, a border services officer will check your documents and issue your study permit.
Keep these documents handy when you travel:
- Passport
- Visa approval letter (POE)
- Original acceptance letter
- Proof of funds
- Any other papers they ask for
Step 9: After You Arrive
Once you land in Canada, don’t forget to:
- Collect your study permit at the airport.
- Apply for a Social Insurance Number (SIN) if you plan to work.
- Register with your college/university.
- Open a bank account in Canada.
These small steps will help you settle in smoothly.
Tips to Improve Your Chances of Approval
Many students get nervous about rejections. Here’s how you can make your application stronger:
- Apply early.
- Write a clear, honest SOP.
- Show real financial proof (avoid fake documents).
- Choose a good DLI.
- Stay consistent with your paperwork.
Common Reasons for Visa Refusal
Even good applications sometimes get refused. Common reasons include:
- Weak financial proof.
- Poor or unclear SOP.
- Lack of ties to home country.
- Incomplete paperwork.
- Doubts about your study plan.
If that happens, don’t give up. You can apply again after fixing the issues.
Processing Time for Canada Student Visa
It’s not the same for everyone. Some get approvals in a month, others wait three months or more. It depends on your country, application load, and even the time of year. The safest option—apply as soon as you get your acceptance letter.
Cost of Studying in Canada
Money is a big part of planning. On average:
- Tuition fees: CAD 15,000–30,000 per year.
- Living expenses: CAD 10,000–12,000 per year.
- Extra costs: Around CAD 2,000–3,000.
You need to show proof that you can cover this when applying.
FAQs
1. How long is a Canada student visa valid?
It usually covers your program length plus 90 extra days, so you can prepare to leave or apply for an extension.
2. Can I work while studying in Canada?
Yes. You can work 20 hours per week during semesters and full-time in breaks.
3. Is IELTS compulsory for a Canada student visa?
In most cases, yes. But some institutions and programs might have exemptions.
4. Can I take my spouse or kids with me?
Yes, in many cases. Your spouse can get a work permit, and kids can go to school.
5. What happens if my visa gets rejected?
You can apply again. Just make sure to address the refusal reasons in your new application.
Final Thoughts
Getting a Canada student visa isn’t as scary as it looks. Once you break it down into steps, it’s just a process of gathering documents, filling forms, and proving you’re genuine.
I’d say the most important things are:
- Apply early.
- Be honest.
- Write a good SOP.
- Show strong financial proof.
If you follow these, your chances are high. And once you land in Canada, a whole new journey begins—studies, new friends, work experience, and maybe even permanent residency down the road.
Canada welcomes thousands of international students each year. You could be next.